From:
Martin Guildford ......... h@virgin.net on 02 December 2000 at 17:50:10
(UK time)
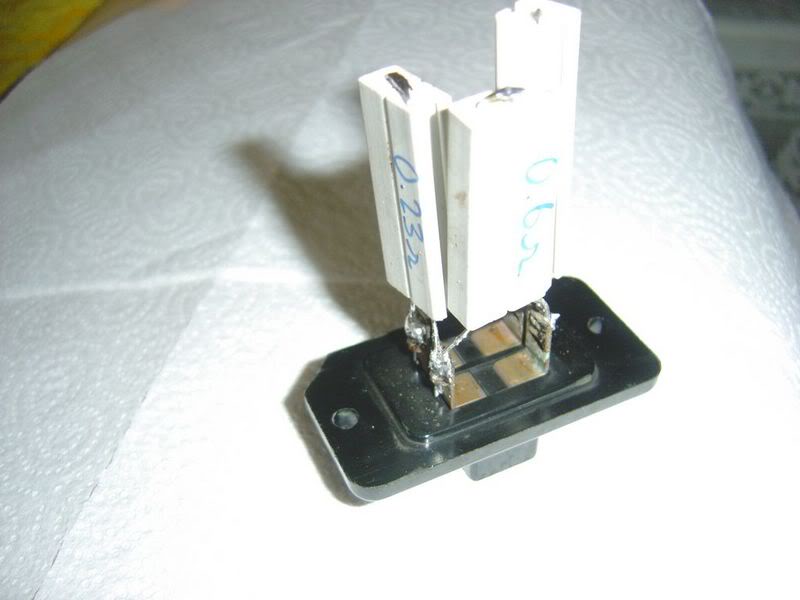
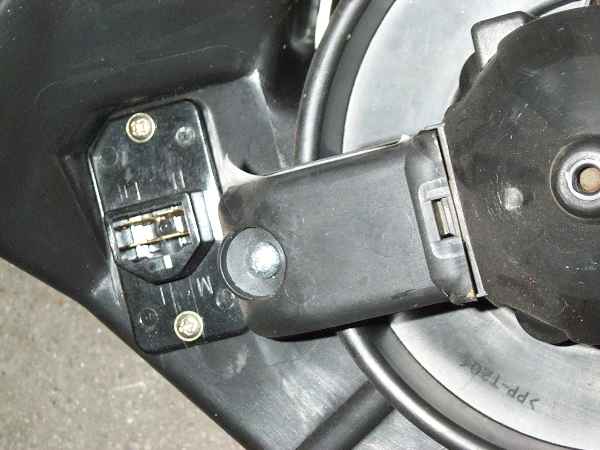
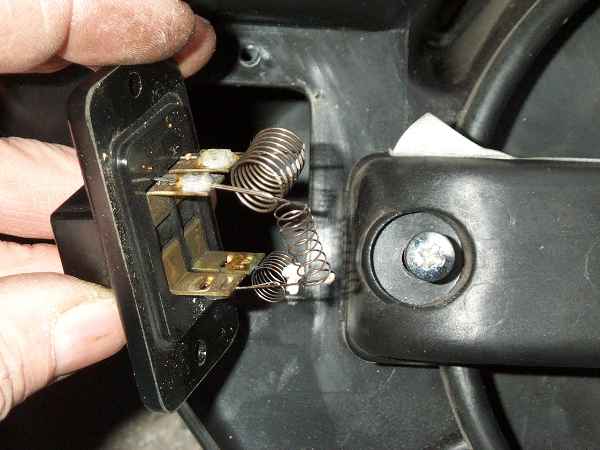
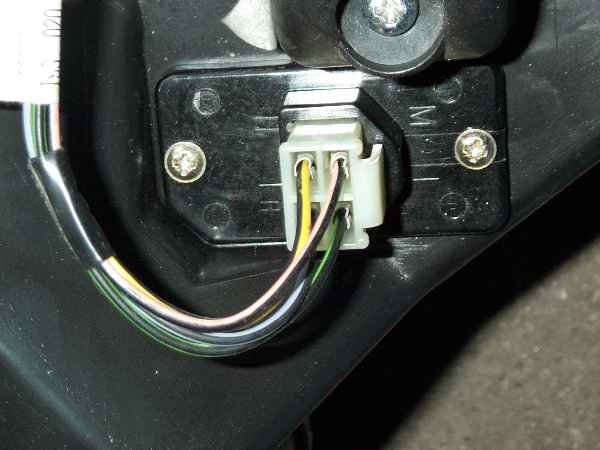
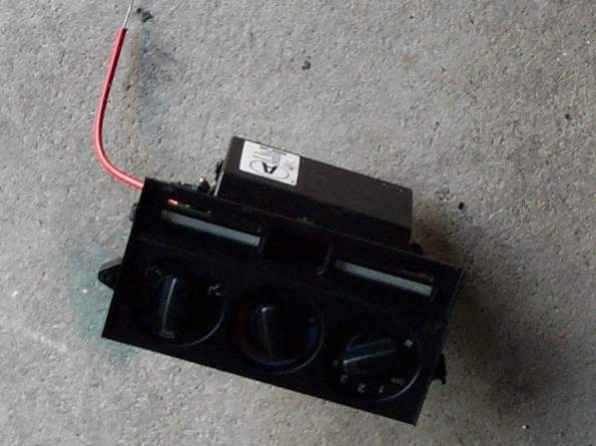
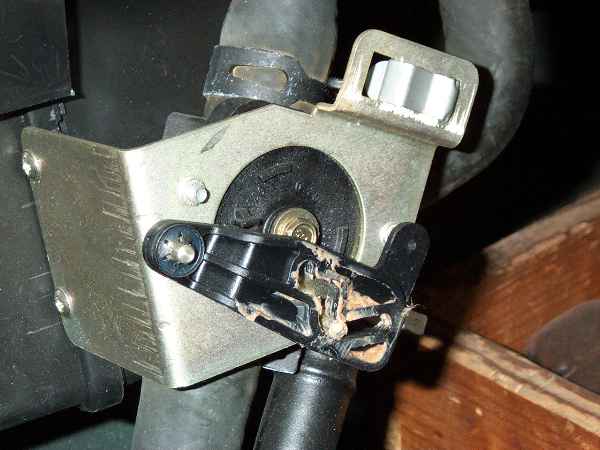
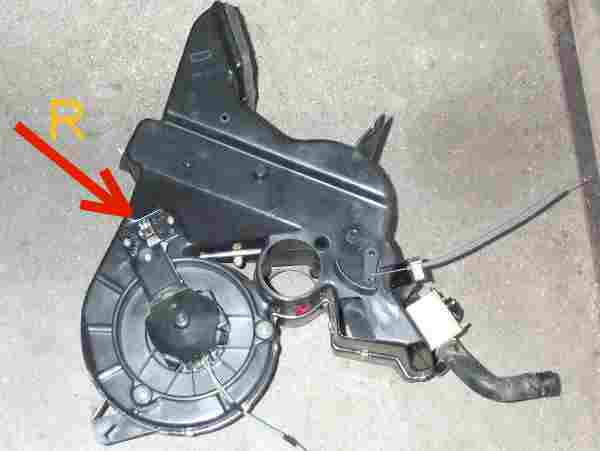
FIXED IT! - Having taken out the glove compartment for easy access. I then
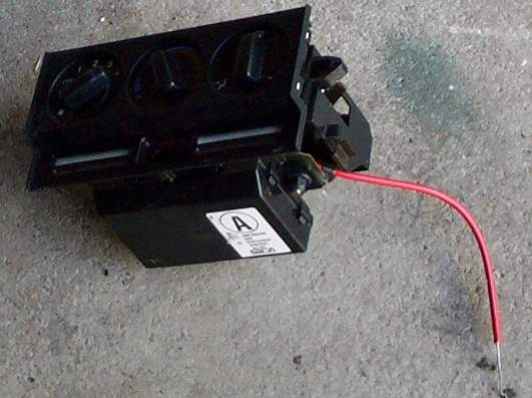
removed the resistor block from the side of the heater module (just above
the motor). To my surprise they were not power resisitors fitted to any
heat sinks, but coils of resistor wire that are designed to sit in the cold
air intake flow of the heater (so they are cooled). This is very old fashioned
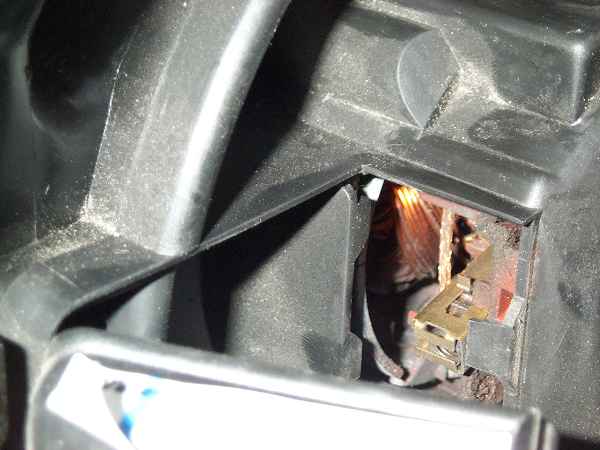
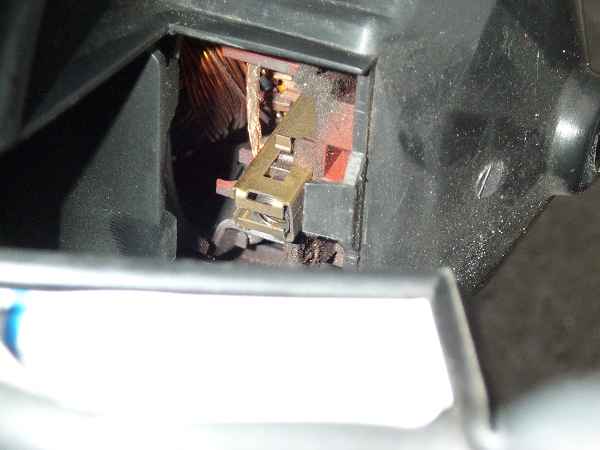
and of course not at all energy efficient. Also, I removed the right angled
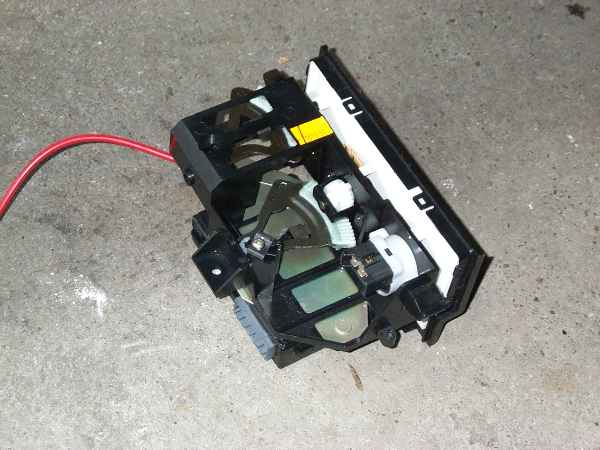
air duct that takes the incoming air from in front of the screen down in
to the heater module. I could then see with a torch indeed there was leaf
in the blower mechanism. Not big enough to stall the motor, but enough to
make an annoying flutter noise. I am surprised there is no grid on the input
to stop leaves entering. I have seen this on MGB's so it's not a new idea.
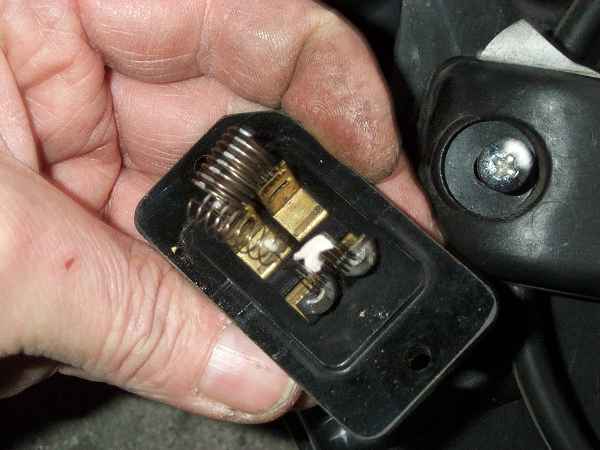
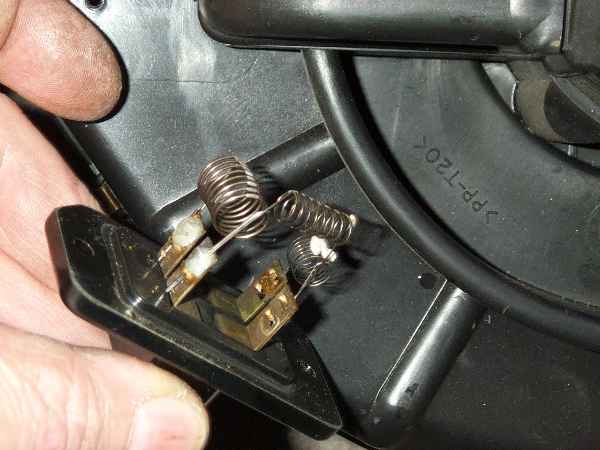
Moving back to the resistor module, the first resistor (resistance wire
coil) was blown. The other two were a little caked with white crap, like
an old fashioned electric fire that has been used a lot, so I just cleaned
them up a bit so as to get a better air flow round the wire. Having done
a few tests, I found that a piece of resistance wire coiled up for about
a value of 1.5 Ohms was adequate to repalce this burnt out one. (There are
3 resistors all in series. All of them in series equals speed
1). The resistor block needs to be fitted back in the air flow for any prolonged
action as it would just glow and burn out if there is no air flow over it.
Perhaps this could be a problem if your air intake is covered with snow.
Anyway, so far so good. I like the idea from Carl, but all good ideas come
from Sweden nowadays, that's why I work for Ericsson and my wife has a Volvo.
See ya |
| Übersetzt
von Martin.Bronk, 16.04.01:
Ich habe das Handschuhfach
für einen einfacheren Zugriff herausgenommen. (Bei Linkslenker NICHT
nötig!!)
Ich entfernte dann den Widerstandsblock von der Seite des Heizungsmoduls
(gerade über dem Motor). Zu meiner Überraschung waren die Stromwiderstände
nicht mit irgendwelchen Kühlblechen verbunden, jedoch die Spulen
des Widerstandsdrahts waren im Luftstrom des Kaltlufteinlaß der
Heizung plaziert (sie werden dadurch gekühlt). Dieses ist eine sehr
alte Methode und selbstredend überhaupt nicht Energie sparend. Ich
entfernte ebenfalls den rechtwinkligen Luftkanal, der die ankommende Luft
von der Blende innen zum Heizungsmodul herunter lenkt.
Ich konnte dann mit einer Taschenlampe sehen, daß in der Tat dort
ein Laubblatt in
der Gebläseeinheit war. Nicht groß genug, den Motor zu blockieren,
aber groß genug,
um nervende Geräusche zu verursachen.
Ich bin überrascht, daß es kein Gitter am Einlaß gibt,
das Laub stoppen würde. Ich
habe dieses beim MGB gesehen, es ist also keine neue Idee.
Kommen wir zurück zu dem Widerstandsmodul: der erste Widerstand (Widerstandsspule)
war durchgebrannt. Die anderen zwei waren wenig zusammengebacken mit weißem
Zeug, wie bei einer alten Heizsonne, die viel benutzt worden ist, also
säuberte ich sie ein wenig, um einen besseren Luftfluß ringsum
der Leitung zu erhalten. Nach ein paar Tests fand ich heraus, daß
ein Stück Widerstandsdraht, auf einen ungefähr Wert von 1,5
Ohm gewickelt, zum Austausch des durchgebrannten Widerstands ausreichend
war. (Es gibt 3 Widerstände in Reihe geschaltet. Alle in Serie entspricht
der Geschwindigkeit 1). Der Widerstandsblock muß, damit er länger
halt, wieder in den Luftfluß gesetzt werden, er würde schnell
glühen und ausbrennen, wenn ihm kein Luftfluß kühlt.
Möglicherweise könnte dieses zu einem Problem werden, wenn Ihr
Lufteinlaß mit Schnee
bedeckt ist. Egal, soweit so gut.
Ich mag die Idee von Carl, aber heutzutage kommen alle guten Ideen aus
Schweden, das
ist der Grund, warum ich für Ericsson arbeite und meine Frau einen
Volvo fährt.
---snip--- |