Erstmals vorgesehen für das Sondermodell Brooklands (Abingdon) Für MGF mit 16' Felgen sind diese Tiefenanschläge vorgeschrieben. Ich war im Zweifel, ob das nötig ist, aber nachdem ich die Anschläge bei dem MGF Wrack gesehen hatte und die erste Fahrt mit meinen 16' Felgen und 215/40iger Reifen hinter mir hatte, da war ich überzeugt. Die Federung der 215er Reifen ist sehr gering. Zusammen mit der Tieferlegung besteht Gefahr, dass der vordere Oberlenker gegen die Hydragaszylinder-Halterung schlägt. Also hab ich sie eingebaut. |
Introduced as part for the edition MGF Abingdon. Recommended for MGF with 16' rims are these bump stops. I was in daubt whether they are really useful but after I had the first ride with my 215/40 wheels and having seen the hydragas unit fixtures at my old wreck.. I decided to install them . The spring behaviour of the low tyreas is smaller then the 205/55. Together with a lowered car it can happen on bumpy roads that the upper wishbone hits the hydragas unit fixture. |
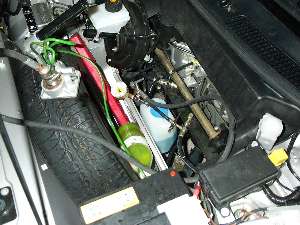
MGF vorn anheben. Vordere Räder demontieren Der vordere Kofferraum. Da ich eine Transportbox verwende war die Demontage der schwarzen Abdeckung nicht nötig. Auf dem Reservereifen meine Druckpumpe. Daneben unten der Fluidvorrat in der Colaflasche. Die Hydra Flüssigkeit für die Demontage der vorderen Tiefenanschläge ablassen |
Lift the car at the front Disassemble both front wheels The open bonnet. I did not need to remove the black plastic cover, cause I use the only for LHD cars availiable Transportation Box (front box). The pressure pump is standing on the spare wheel. Right hand below the fluid bottle (Coke bottle) Release the Hydragas Fluid for disassembling of the front Bump Stops |
|
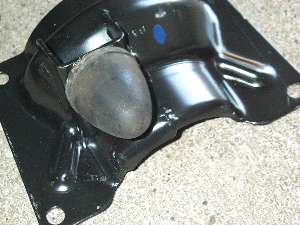
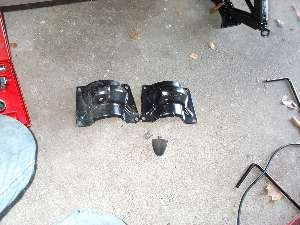
So sehen die Teile aus. Links ein normaler Tiefenanschlag. Rechts
der verstärkte Tiefenanschlag. Unten der Gummipuffer, der von der
alten an die Neue Platte einfach umgesetzt wird. Diese Tiefenanschläge
sind eigentlich mehr die Halterungen der vorderen Hydragaszylinder. Die
Verstärung schützt die Einheiten vor dem Verbiegen. |
The look of the standard and the new bump stop. Left side
the standard. Below you see the rubber bump which gets swaped from the old
to the new part. The so called bump stops are nothing else than the fixture plates for the front hydragas units. A welded bracket protects the units from damages by hits of the upper wishbone. This damages can happen: - cause of low ride height - cause of using low damping 'low profile tyres' from 16' upwards The position of the upper wishbone could get on one hand to tight to the fixture or on the other hand it can hit the fixture cause of to less tyre dampening. |
|
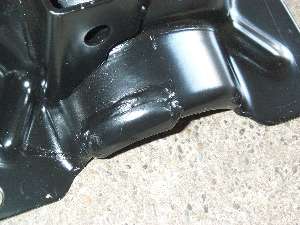
Hier die Verstärkung. | The added weld bracket at the fixture plate. | |
... und komplett mit dem später umzubauenden Gummipuffer. Der Gummipuffer sitzt bei der neuen und alten Halterung in identischer Position | and assembled complete with the rubber bump from the old part. The rubber bump is sitting in the same position. | |
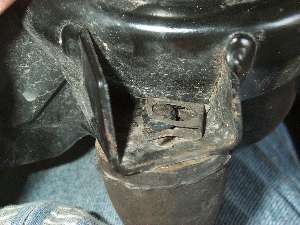
Sicherungsklammer | securing clip | |
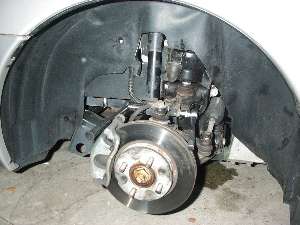
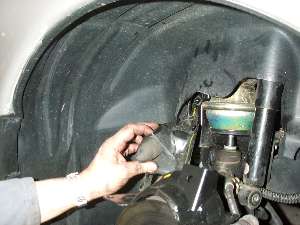
Normalerweise soll man die gesamte Radhausabdeckung demontieren. Es geht aber auch, wenn man nur drei der diversen Plastik Schraubniete demontiert und dann die Abdeckung für den Zugang zu den oberen Schrauben etwas nach vorne biegt. | The removal of the plastic wheel house liner is recommended, but the bump stop change is also possible by only disassembling the three plastic srew rivets and bending the cover to get hands on the upper two bolts. | |
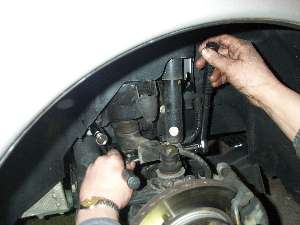
Die untere Stossdämpferhalterung demontieren, um die hinter dem Stoßdämpfer
sitzende Schrauben zugänglich zu machen (13er und 17er) Reihenfolge der demontierten Teile beachten: - Mutter - U-Scheibe - Dämpfer - U-Scheibe - Abstandshülse |
Disassemble the lower fixture of the damper to reach the 2
bolts behind the shockers. (13mm and 17mm wrench) Notice the sequence of the disassembled parts. - Nut - Washer - Damper - Washer - Distance pipe |
|
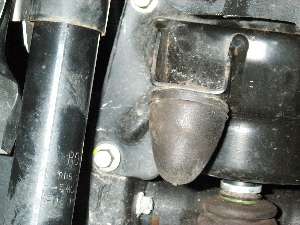
Bei losgeschraubtem Stoßdämpfer sind die obere Schraube (SW 10) mit dahinterliegender 13er Mutter zugänglich. | You reach this two bolts after disassembling the lower schock damper fixture. Use the 10mm wrench in front and a 13mm wrench for the upper rear nut. The lower bolt is screwed to a welded nut. | |
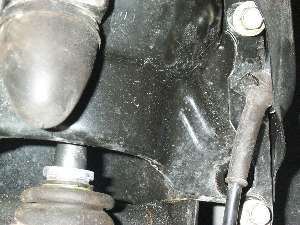
Auf der anderen Seite der Halterung ebenfalls zwei Schrauben. Oben eine mit dahinterliegender Mutter. Die untere hat hinten eine Schweissmutter. Die Schrauben halten gleichzeitig auch die Zugentlastung des ABS Sensorkabels | Two bolts on the other side. Above again with a 13mm nut on
the rear side. The lower with welded nut. This bolts hold also the ABS Sensor cable in position (if applicable) |
|
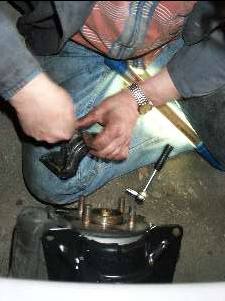
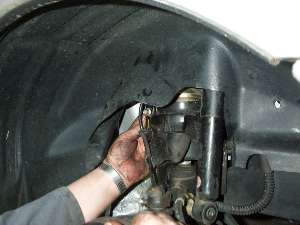
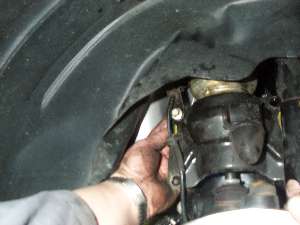
Radhausverkleidung nach vorn biegen und dann fröhlich drauflosschrauben. Zwei oben (mit Mutter). Zwei unten und das Teil ist lose. |
Bend the wheelhouse liner in front and then: Happy unbolting. Two on top, two below and the part is loose | |
ABS Sensor Kabel vom Klip lösen und das Teil nach unten herausnehmen | Remove the ABS cable from the clip and pull off the bracket | |
get it out | ||
Das Anschlaggummi umbauen | Swap the rubber damper over from old to new bracket | |
re-assemble in reverse order |
back or to my MGF home site www.MGFcar.de