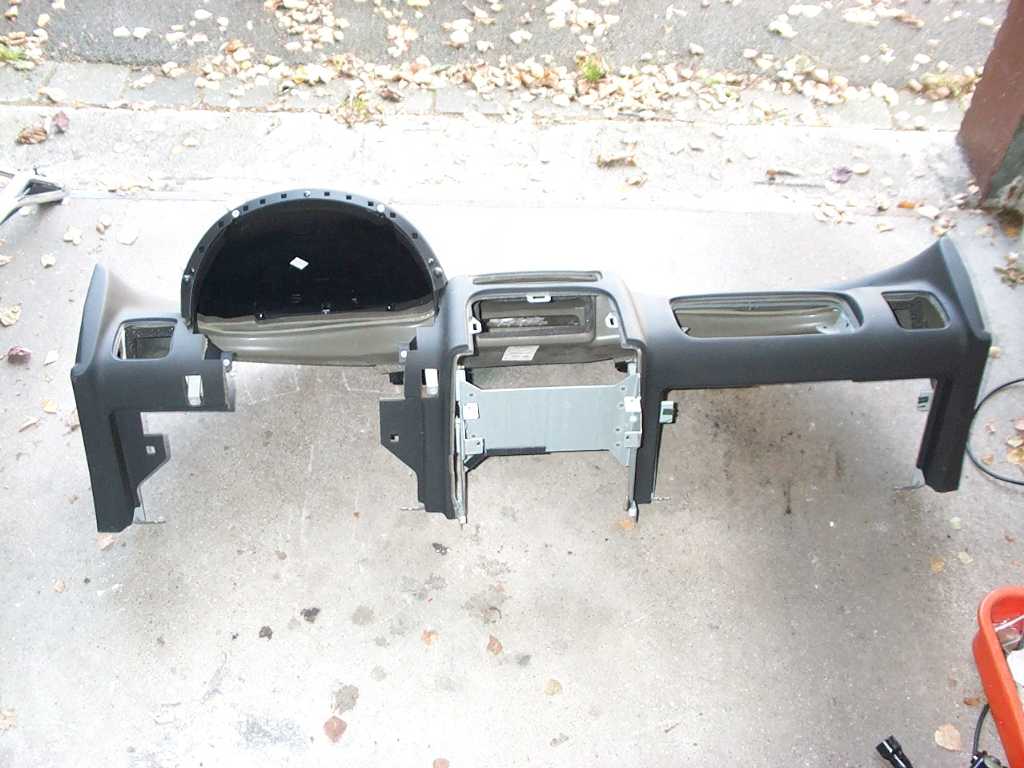
(Radio, Alarm-ECU, Heizungsstellet)
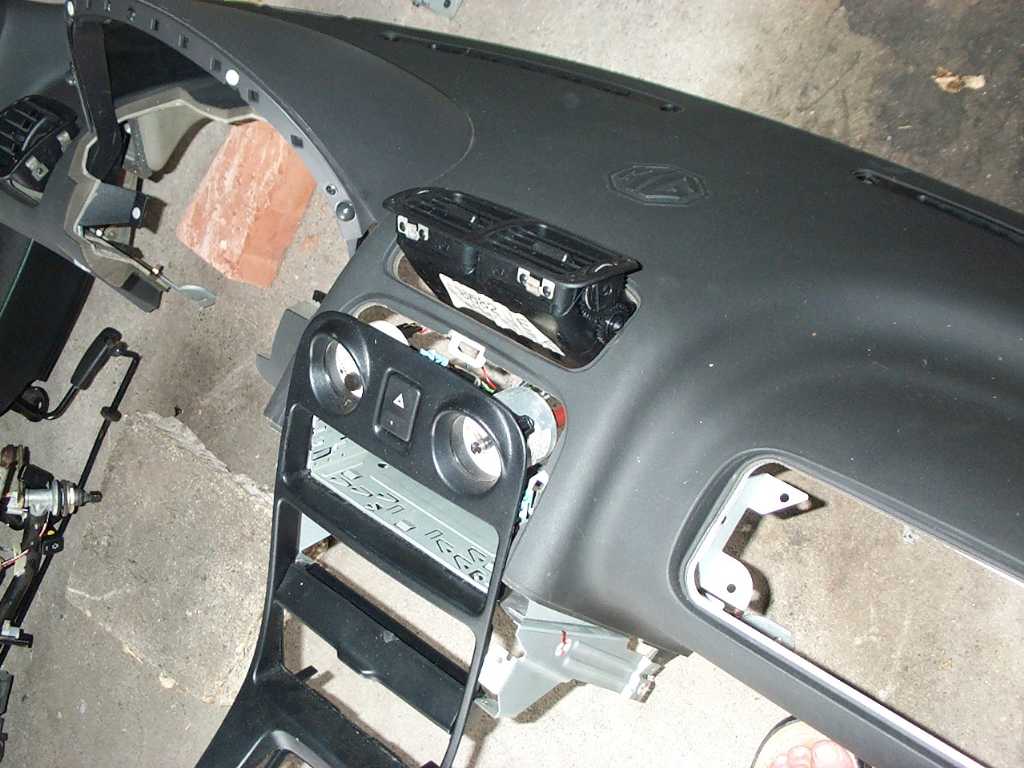

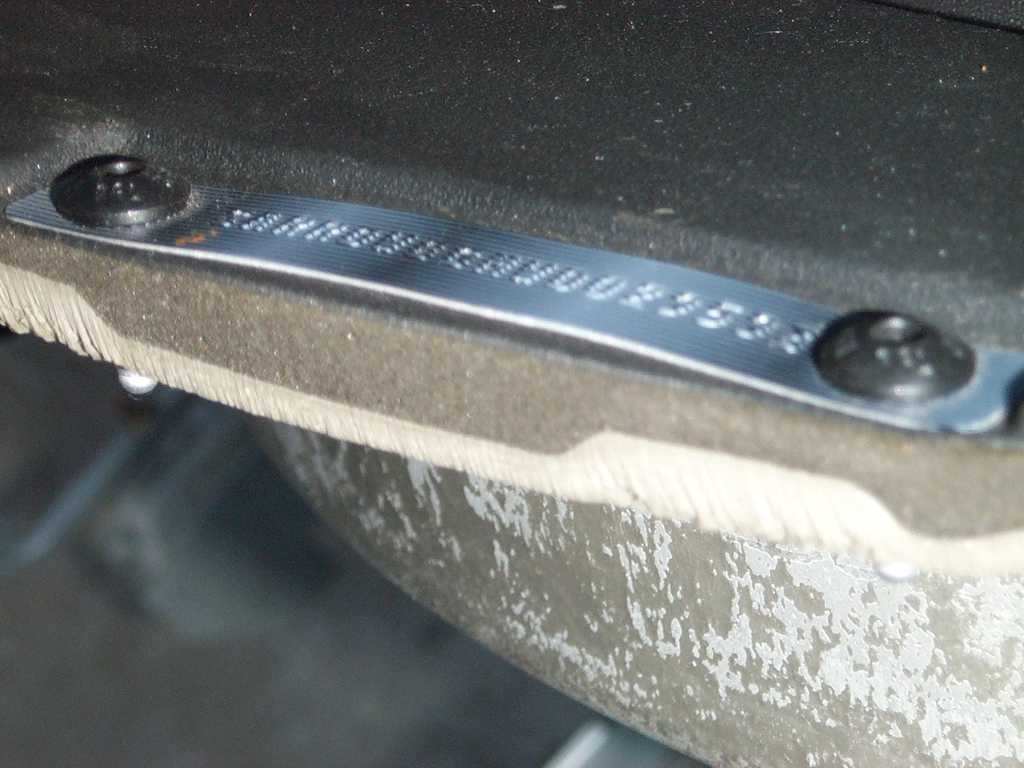
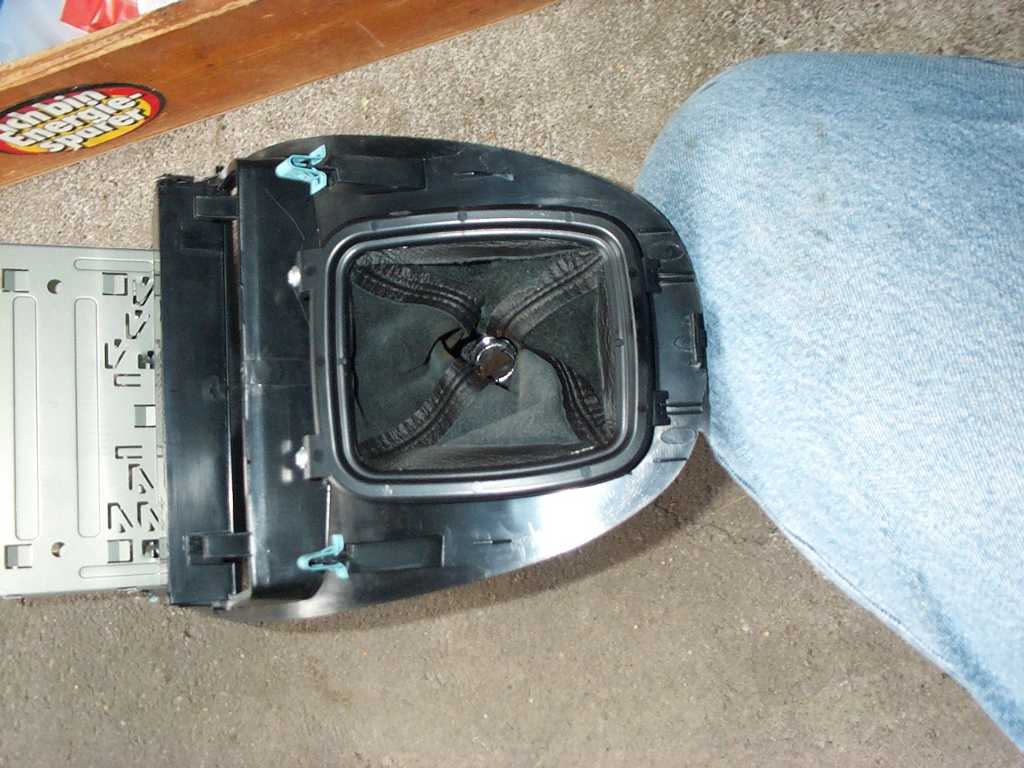
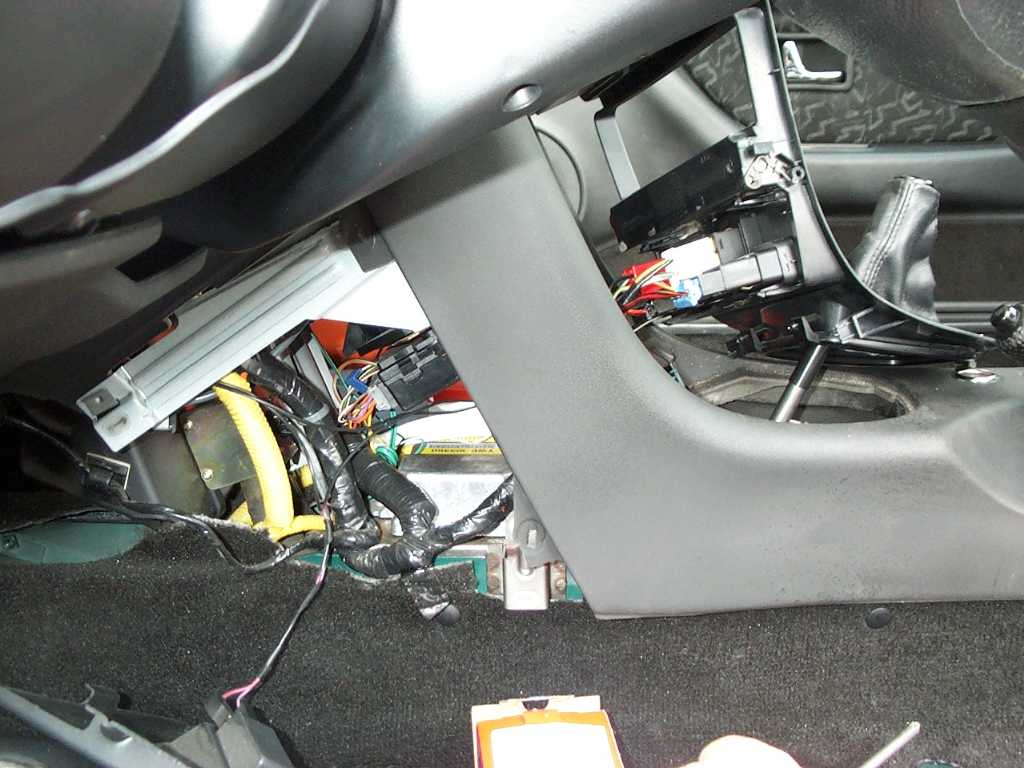
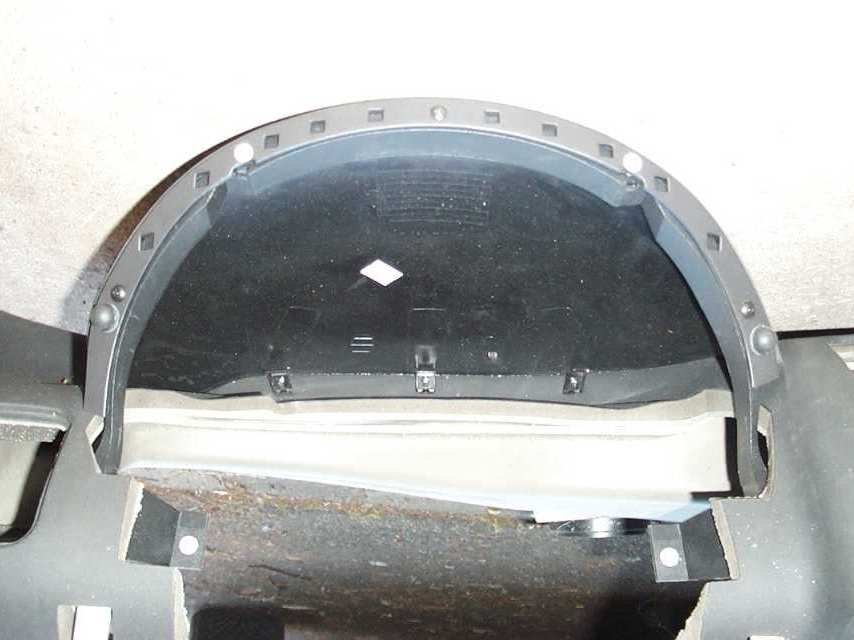
Die Instrumentenhaube kann nur nach Bohren von Hilfsbohrungen durch den aufgeklebten Luftkanal abgeschraubt werden
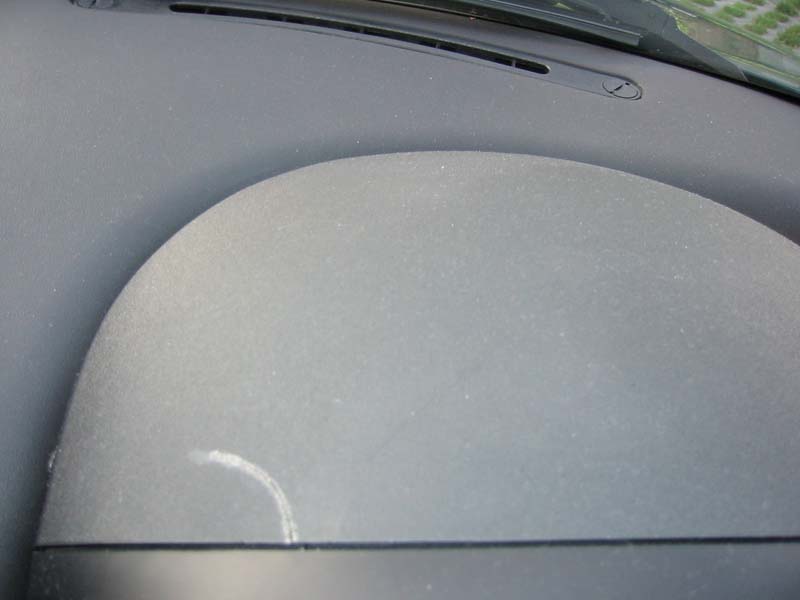
picture courtesy Hanah Kim
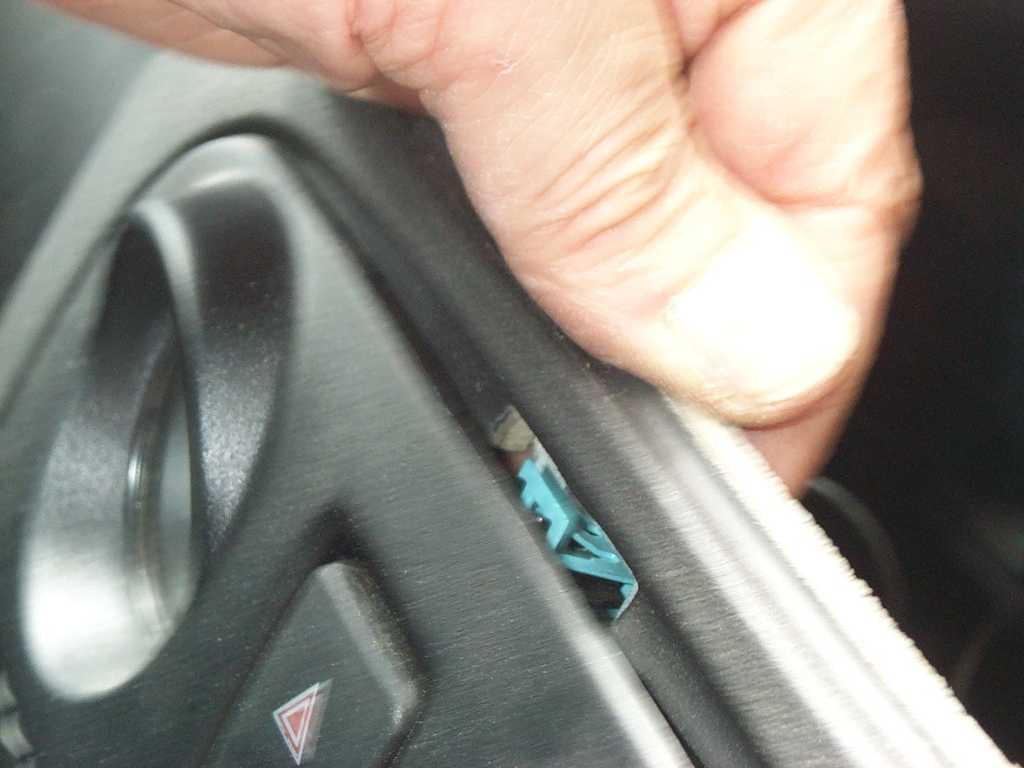
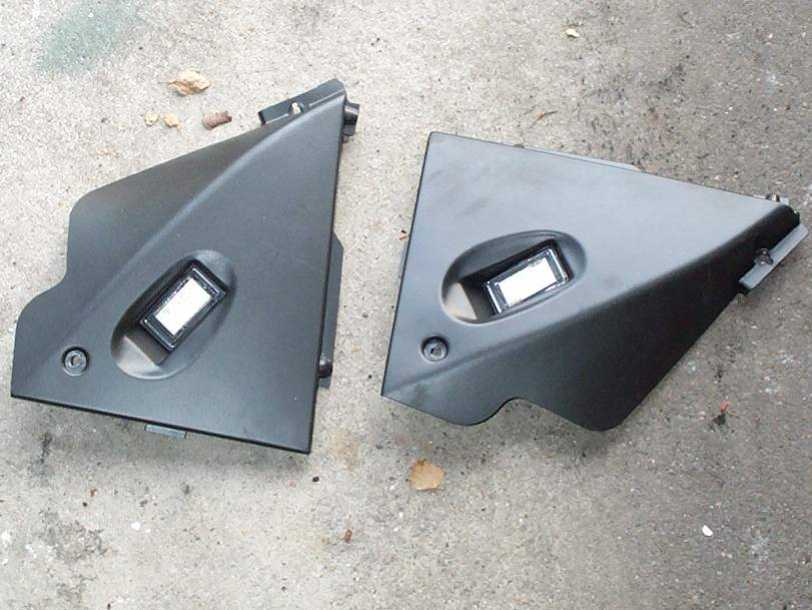
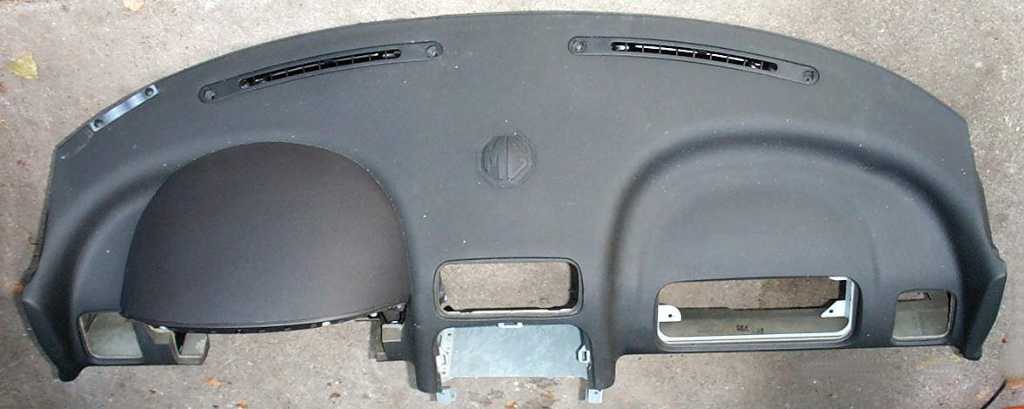
Die Abdeckung ist gerissen nachdem das Panel wegen gebrochene, Querträger mehrfach montiert/demontiert wurde.
Mike Satur's hint to the BBS (13.02.2005)
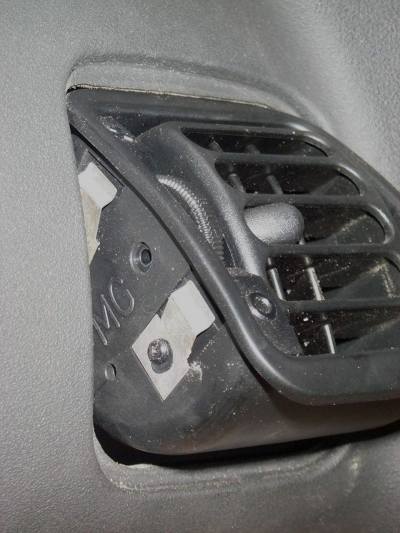
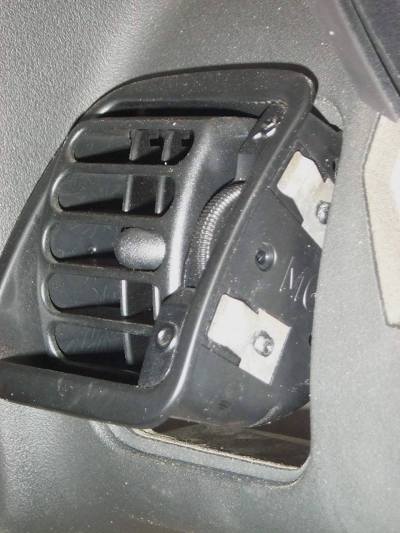
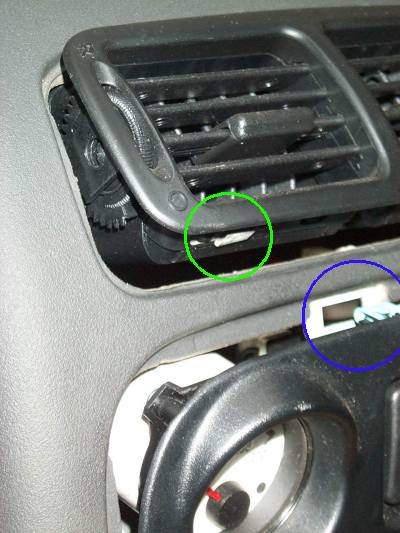
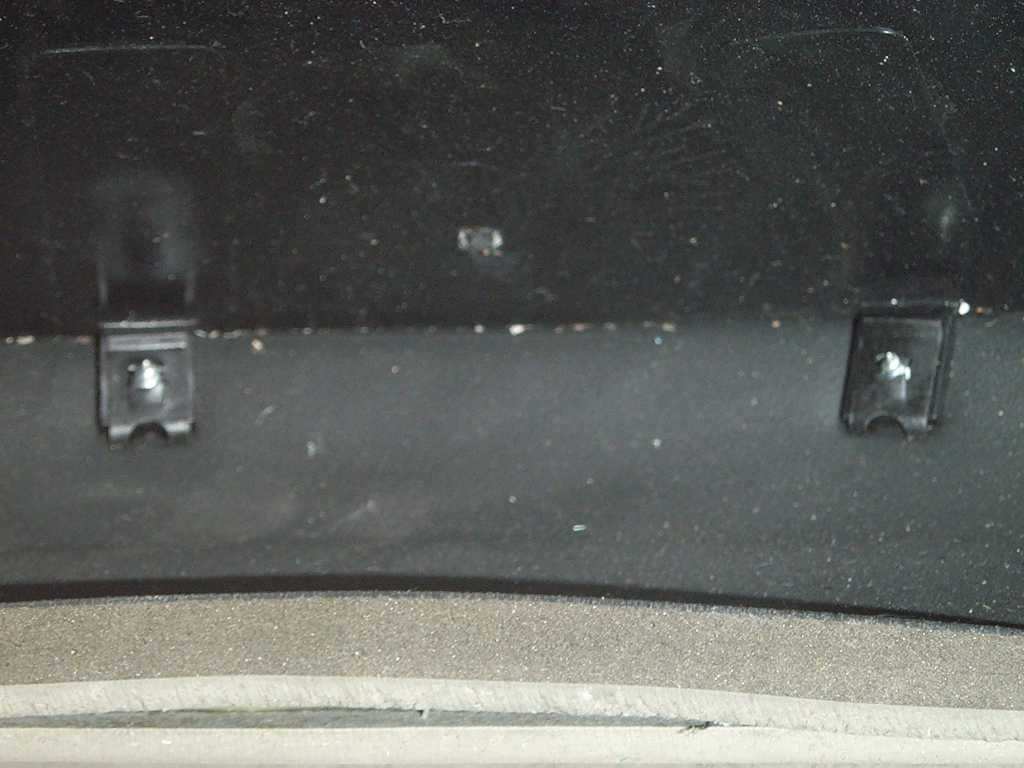
The MG dash cowl is attached to the dash before the vent ducts are bonded
on!! Weird I know as the screws should have been from the outer face in,
not the other way around. Even more weird is the fact that the cowl is
not available as a separate part. There are two ways you can repair the
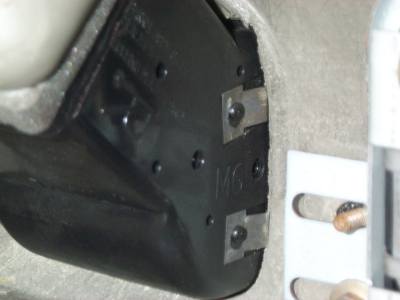
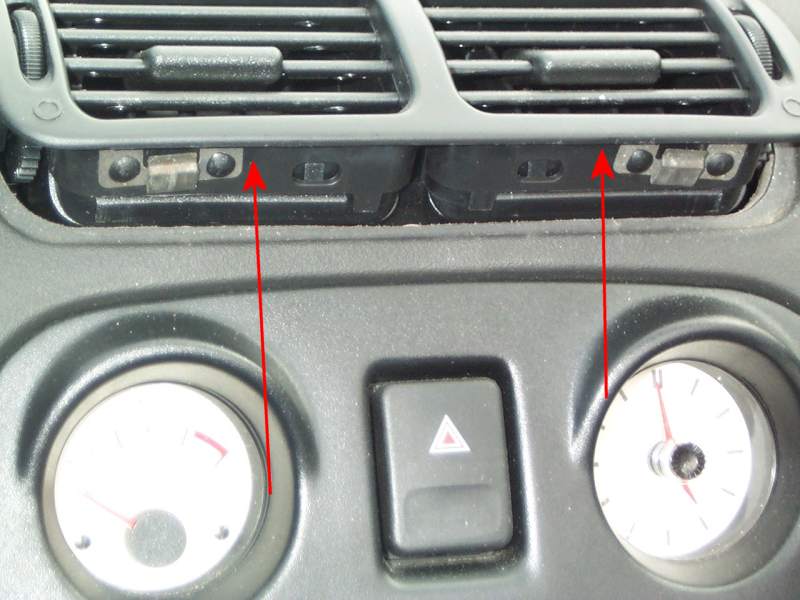
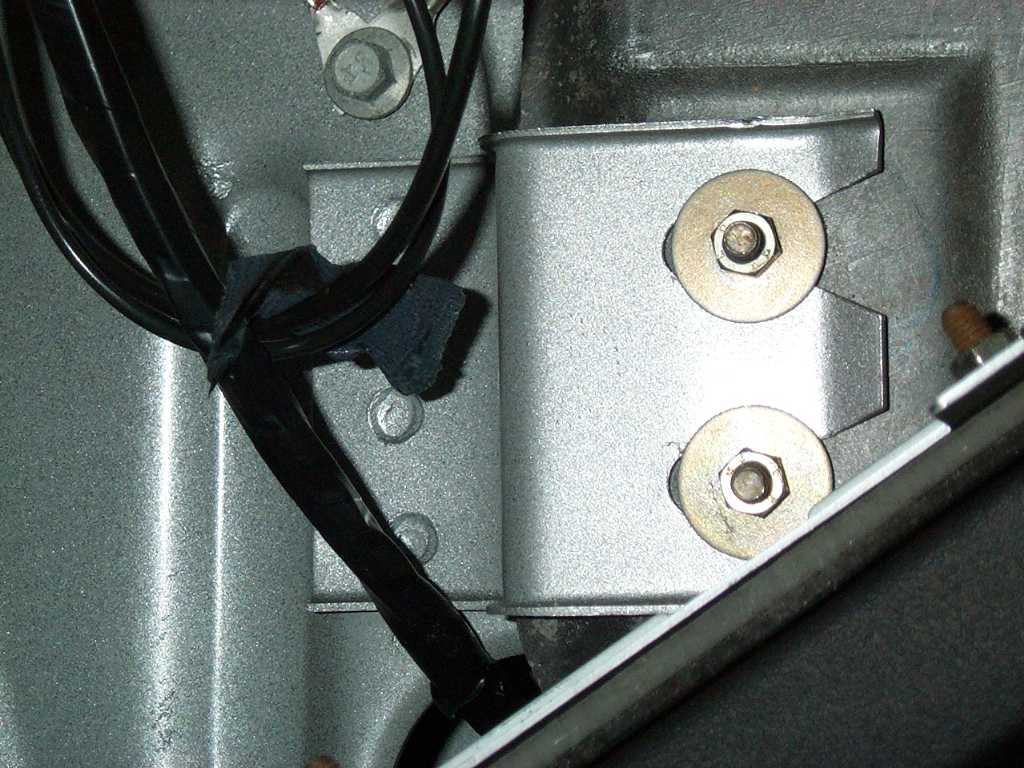
damage, remove the dash and establish where the 3 screws are and drill
access holes to remove and refit the screws and then patch up the holes
afterwards, ok if you are taking the dash out for some reason, about 2
hours to do. OR you can remove the 3 screws by using some pliers to loosen
and let them drop into the ducting and retrieve wth a magnet, you can
then screw through the lugs with self tappers a size larger and use some
polysuphide panel adhesive/ hot glue to hold it all in place, the lugs
are pretty fragile and may snap off again. Another solution is to use
some counter sunk pop rivets or some c/s or dome head screws and make
a 'feature' of the fastenings through the out side of the cowl and some
small aluminium brackets on the inside and self tap back into fresh holes
on the dash. If you don,t want to see the fastenings then cover the cowl
in some matching leather/fabric.
Branko (AUS) found a way to get out the bolts:
I already have the screws out using a magnet.
Hold on to your horses, Helpful Hint coming......
*** Use a wire coat hanger, unfold it and permanently attach a small magnet to the end. Then put a curve in the wire and shove it into the duct to retrive the screws as you push them in.........
Success! (Beware, Long Post!)
Here is how.
You will need:
A soldering iron (or some type of strong glue to fix the lugs back on).
A thin round file will suffice instead of melting the holes bigger. (I
used my iron)
Three larger self taping screws.
A couple of cold beers to assist in concentration.
(OK you really don't need the beers, but what the Heck!, its more fun that way)
1: Fix the broken cowl plastic lugs using a soldering iron and melting
them back in position with more similar scrap plastic for added strength.
It takes some patience and a little skill to do this and a cool drink
at hand.
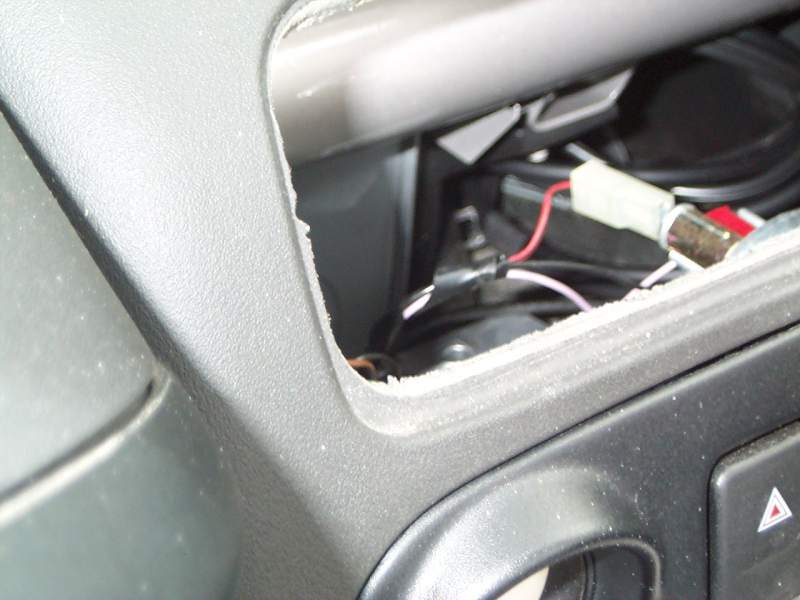
I had my speedo cluster out when doing this as it was easier to access
the rear cowling screws.
**********************WARNING *******************
Do the melting in a well ventilated area as the fumes may be bad for your
health.
*************************************************
2: Remove all 3 screws using the magnet on the bent coat hanger trick as I would hate to leave a screw rattling inside there. (Keep screws for some future project or repair).
3: Make the screw holes bigger in the tabs so that a larger screw can go thru it cleanly. I again used the soldering iron to melt away from the inside of the hole.
4: Pre-insert the larger screws into the dashtop holes so that they thread in. It will be easier to repalce cowl when the thread is alreay made as the screw angle is arkward when putting back cowl.
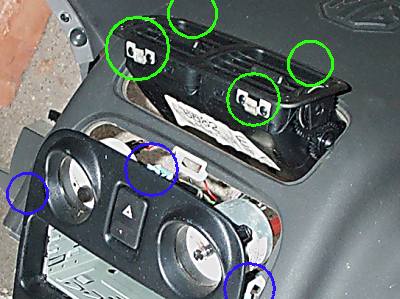
5: Place cowl on to dashtop and insert screws and then replace the 3
front screws of the cowl which hold it to the dash front frame (loop thingy).
(If I've missed something just ask).
Hope this helps somebody. It did me. :-)