
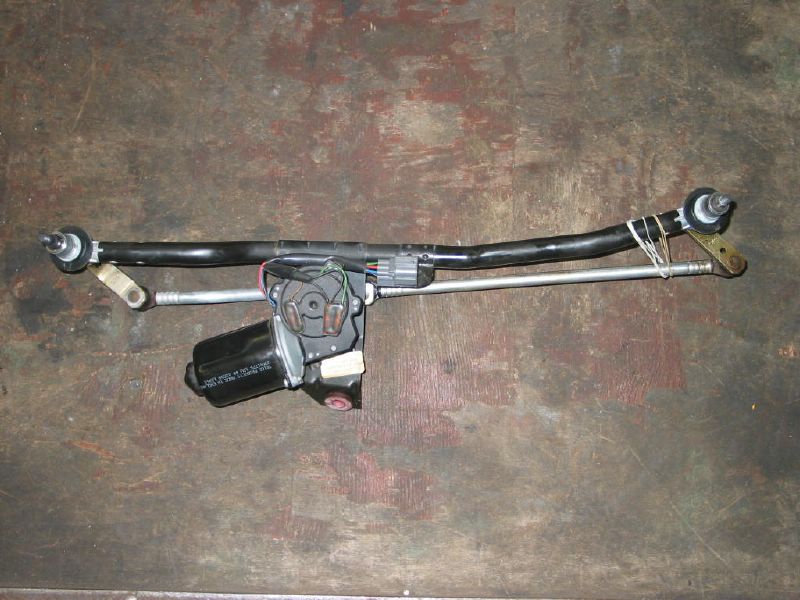
The MGF wiper assy is not the best of quality. Cheap ball joints wear out whyever easy at some cars.
NOTICE this is not an easy DIY job. You need some mechanic skills and sense for improvisation !!!
- 32er Maul- oder Ringschlüssel
- Knarre mit kleiner Verlängerung
- 10er & 13er Nuss für Knarre
- Schweißgerät
- Flex
- sowie diverse Schraubendreher & Zangen
- 32mm ring wrench or socket
- short ratchet
- 10mm and 13mm socket
- weld
- grind lex or hacksaw
- screw drivers and grippers
- M8 Gewindestange (ca.5cm länge) oder
abgesägte Schraube
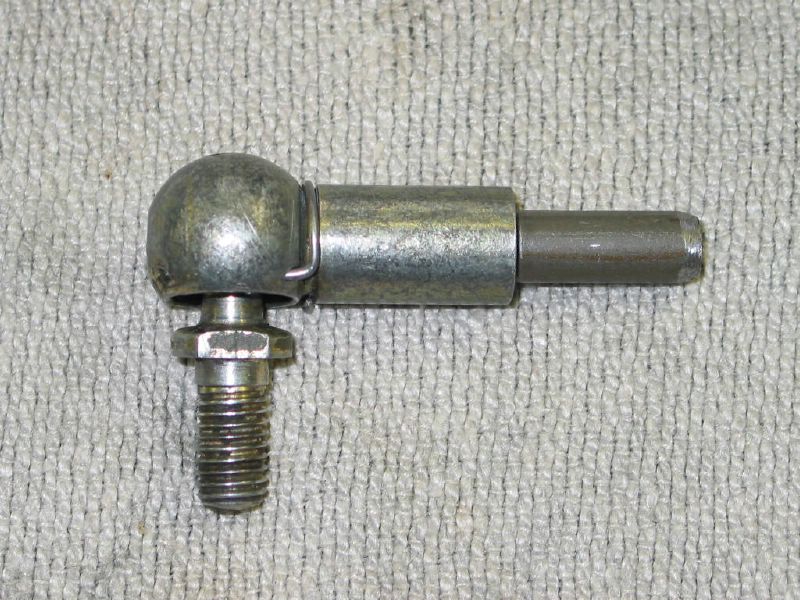
- Kugelgelenk mit M8 Gewinde
DIN71802-8-M5 Form CS
- M8 thread joint
or cut M8 bolt
- 8mm ball joint DIN71802-8-M5 Form CS
(Diese
Gelenke kann man günstig im Landmaschienenhandel kaufen)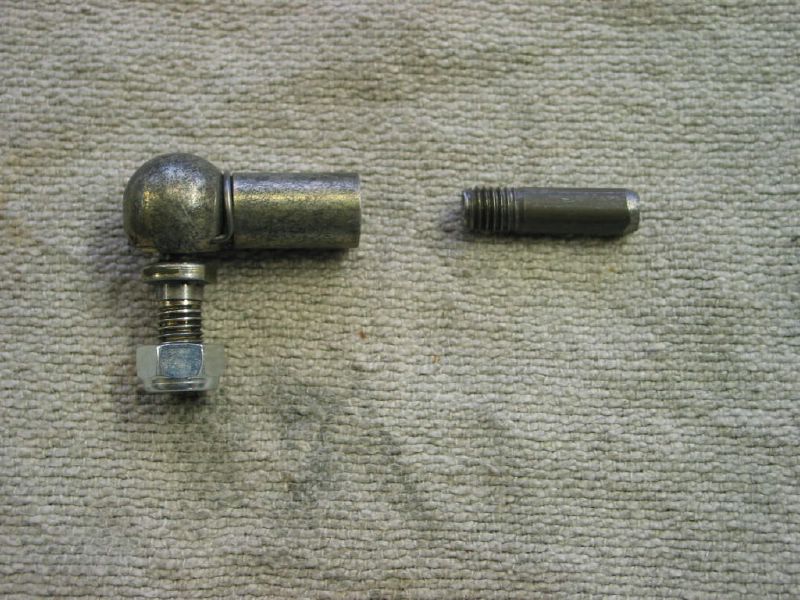
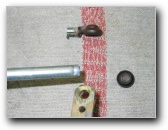
Danach müssen noch die Kunststoffschrauben unter der Gummidichtung entfernt werden. Hierzu vorsichtig mit einer Zange unter die Köpfe gehen und sie dann vorsichtig hochdrücken. Nun kann das gesamte Teil entfernt werden. Darauf achten wie das Teil an den beiden Seiten unter der Scheibe befestigt ist!!!
Notice how the part is attached at both sides. It breaks easy !!
3.
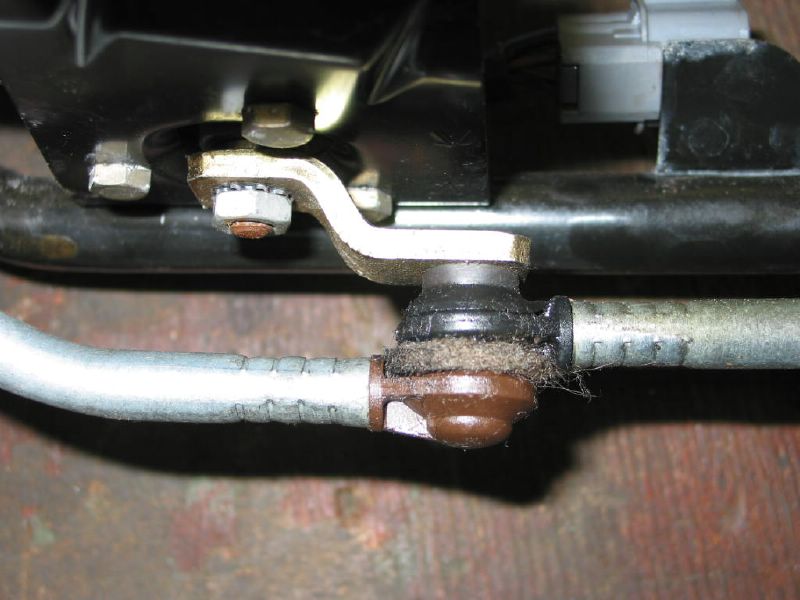
Nun haben wir freien Blick auf die großen Muttern die das Scheibenwischergestänge
an den Scheibenwischern halten
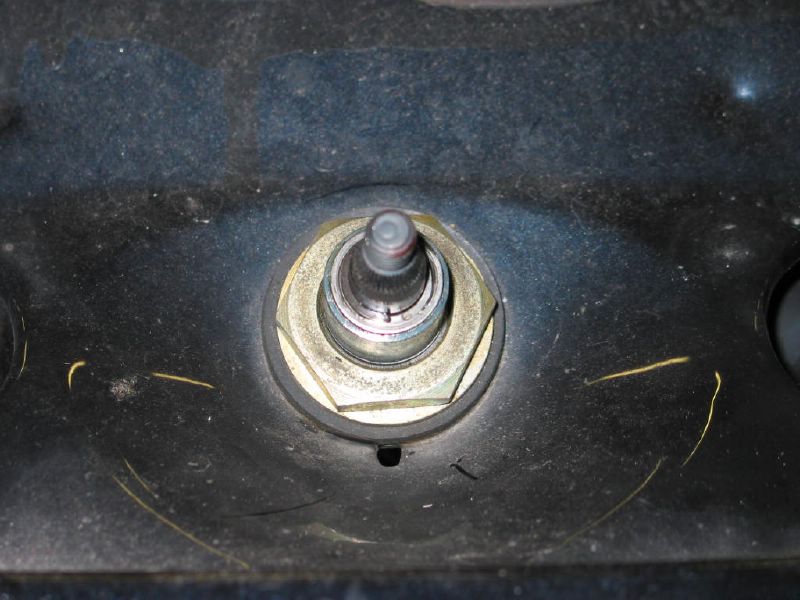
Sie
werden mit dem 32er Schlüssel abgedreht. Danach wird der Stecker
entfernt und die Schraube der Halterung am Motor. Nun ist das Gestänge
frei. 
Bolt them off with a 32mm wrench. Then pulll off the connector to the wiper motor.
The assy can be moved easy now.
Have some patience to get it out.
Danach markieren wir die Stelle an der das Gestänge abgeflext wird.
Then mark the location where to cut the aluminum pipe.
vorher

nachher
fertig vorbereitet
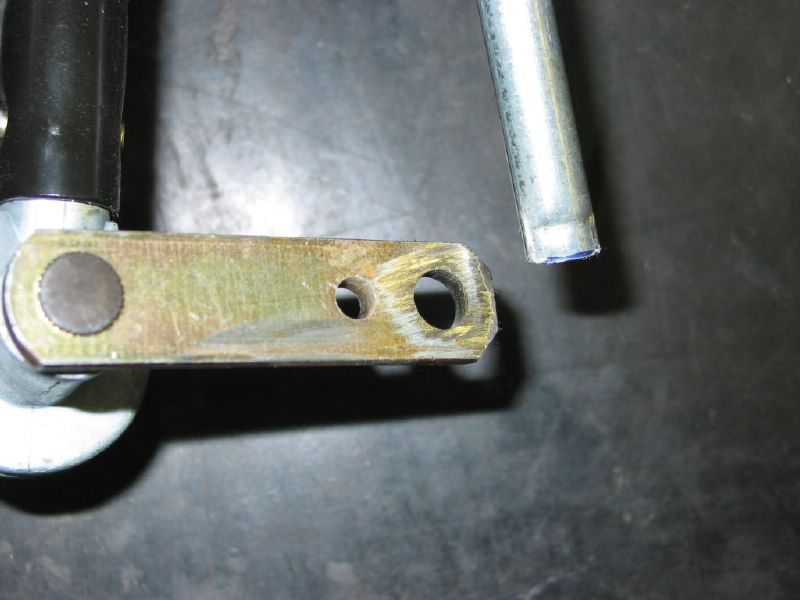
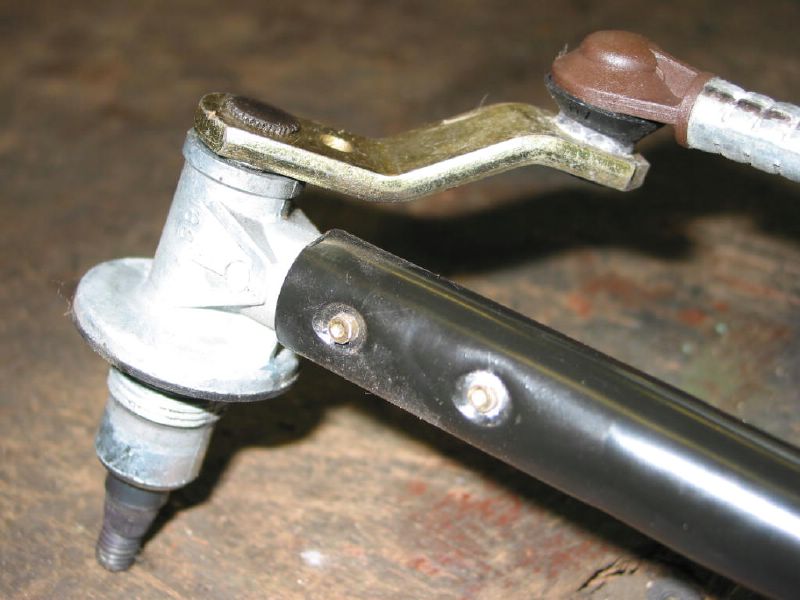
6.
Remove the worn joint from motor lever.
You may need to add another piece of bush or pipe to fill the clearance
between the bigger hole and the M8 threqad. Epoxy adhesive may help as
well to fill the gap.
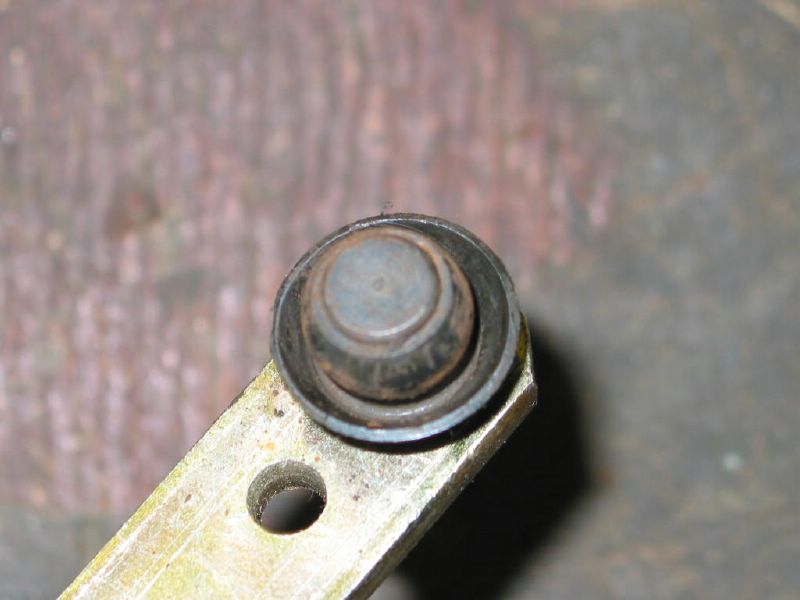
Remove the old ball
joint from the assy pipe lever. Notice to cut off the right length.
The *before* and *after cut* pictures.
Use a drill to remove remaining plastic from inside the pipe.
. Bevor das Kugelgelenk in das Gestänge eingeführt werden kann muß der restliche Kunststoff aus dem Gestänge entfernt werden.
Nach dem schweißen noch einmal die Markierungen kontrollieren und an Korrosionsschutz denken!!!
vorher
nachher

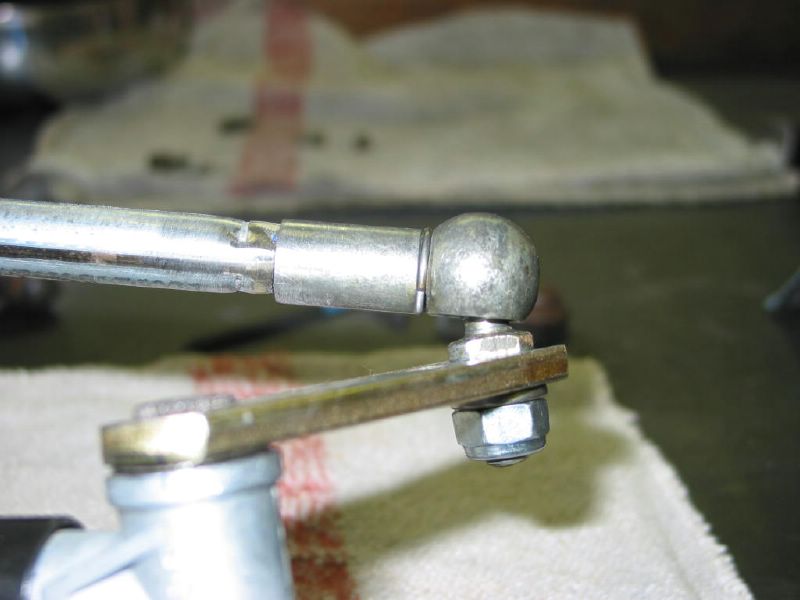
8. Bolt on the ball joint to the motor lever with the M8 nut.
Align the other side
in the pipe and weld it to the pipe. If you weld then don't forget to
remove the zink plating before you do.
See before and after pictures
Don't forget to paint the parts for rust protection.
Wie bei dem Ausbau kann es auch bei dem Einbau sehr eng werden. Evtl. muß man die Gelenke noch einmal auseinander nehmen und später wieder zusammendrücken, dadurch schaffen wir etwas Platz beim Einbau.
Re-fit in reverse order. It is equal difficult.
May be it is easier if you connect the assy and let it run to the center location and switch off the ignition. It is said to be easier then
The new part needs to be greased from time to time.